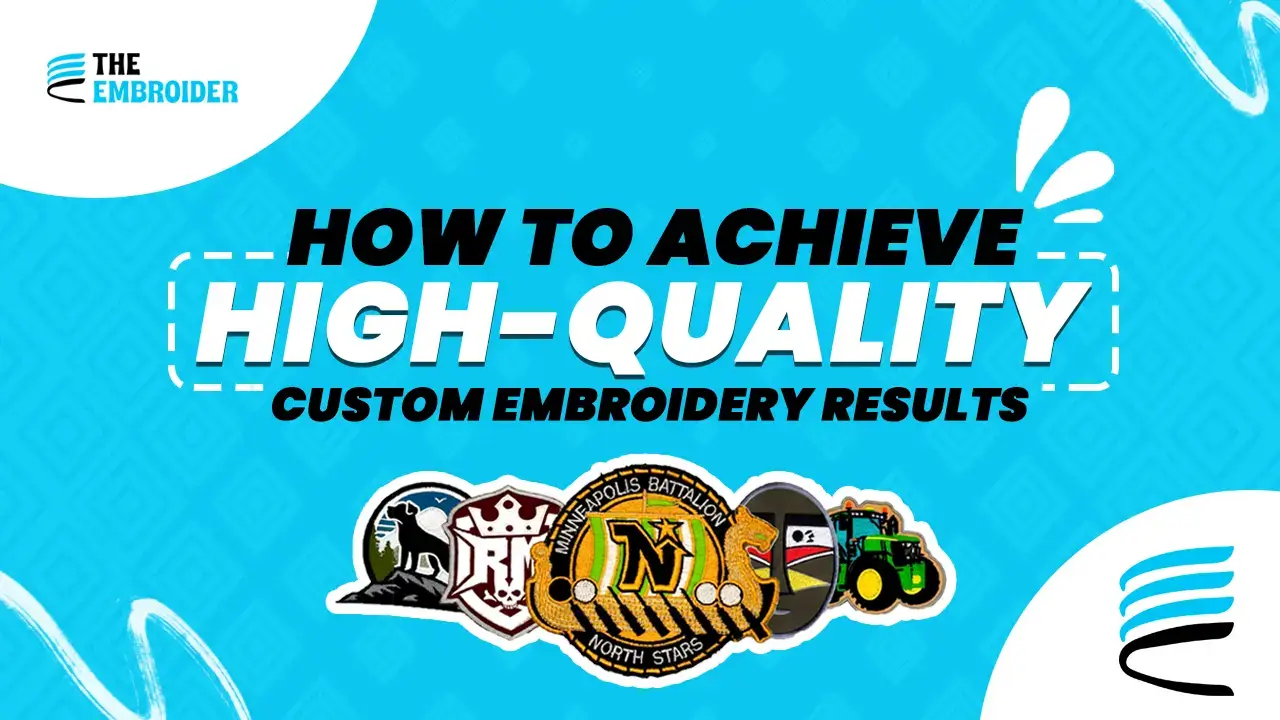
Embroidery is more than just stitches. It brings everyday items to life. But when done wrong, even pretty designs fall flat. If you want your work to really shine and last, here’s how to make it professional from start to finish.
1. Start with Excellent Materials
The difference between mediocre and stellar embroidery often starts here:
- Threads: Use high-quality polyester thread for durability. Rayon has more shine but may fade faster.
- Fabric: Heavy fabrics like denim or canvas hold up well. Use lighter fabrics only when you choose stitches and stabilizers accordingly.
- Stabilizer: For most garments, cut-away stabilizers create the best foundation. Tear-away works well for lighter projects.
If you’re doing appliqués embroidery or patches, test how the stabilizer sticks to your base material first. A mismatch here can ruin the design later.
2. Digitize With Precision
A design is only as good as its embroidery file. Poor digitization leads to gaps, misalignment, and thread breaks.
- Choose the appropriate stitch type and density.
- Avoid very small text, try a test run to see legibility.
- Always stitch a sample on the same fabric before full production.
I once skipped this, and regretted it the design puckered on the final run. Matching fabric in the test stitch tells you exactly what to expect.
Many businesses rely on Custom Embroidery Digitizing Services so the file is fine-tuned for their specific machine + fabric combo. It saves headaches later.
3. Maintain Your Equipment
If your machine’s not cared for, even the best designs suffer.
- Clean out lint often, especially around the needle, bobbin area, and thread path.
- Changing needles regularly dull ones ruin stitch quality.
- Ensure your bobbins are wound evenly and tension is set right.
- Lubricate moving parts; a dry machine is a cranky machine.
A misaligned or clogged machine can degrade stitch quality significantly over time.
4. Perfect Hooping and Tension
You can have the best design, but without precise hooping and tension, it won’t translate well.
- Hoop tightly (but not stretched) with proper stabilizer support.
- Test tension before the run: too tight pucker, too loose loops.
- This is especially crucial for structured items like hats, where misalignment is very noticeable.
5. Final Touches Make the Difference
After stitching, your work still isn’t done.
- Trim away fluff, stray threads, and excess stabilizer.
- Press lightly with a cloth over the design and don’t flatten textured stitches.
- Inspect carefully: check alignment, color, density, stitch consistency.
A design that passes final inspection always feels more polished.
6. Be Smart With Lettering
Text embroidery is delicate, especially smaller fonts.
- Script fonts are beautiful but often lose clarity if too small.
- Serif fonts have class but can distort under tension.
- Simple sans-serif fonts tend to be the safest and most legible.
Choose fonts that your machines can render cleanly, especially for fine detail.
7. Commit to Continuous Quality Control
Good work comes from feedback and repetition. Always test a sample, review results, adjust settings, and get client feedback. Over time, that cycle sharpens your output and ensures consistency.
If you want a deeper tutorial on stitches, threads, and techniques, check out The Spruce Crafts – Embroidery Basics for solid foundational info.
Final Word
High-quality embroidery isn’t magic, it’s a method. You combine the right materials, precise digitization, machine care, and finishing touches. Do that, and you’ll see results you can be proud of.
FAQs
Q1: What really makes or breaks embroidery quality?
A: It’s all about whether your design is digitized well and your materials are strong. Even the best machines can’t fix a poor design file or cheap threads/fabric.
Q2: How often should I change needles?
A: Around every 6-8 hours of stitching is a good rule. If you use metallic or dense threads, or if stitch quality drops, swap sooner.
Q3: Do iron-on patches last as well as sewn ones?
A: Not quite. Iron-on patches are quick and easy, but they tend to peel or lift after many washes. Sew-on patches stick around longer and handle wear much better.
Q4: How do I stop fabric puckering?
A: Match stabilizer to the fabric, hoop tightly (but don’t stretch), test tension before starting for real those steps reduce most puckering problems