
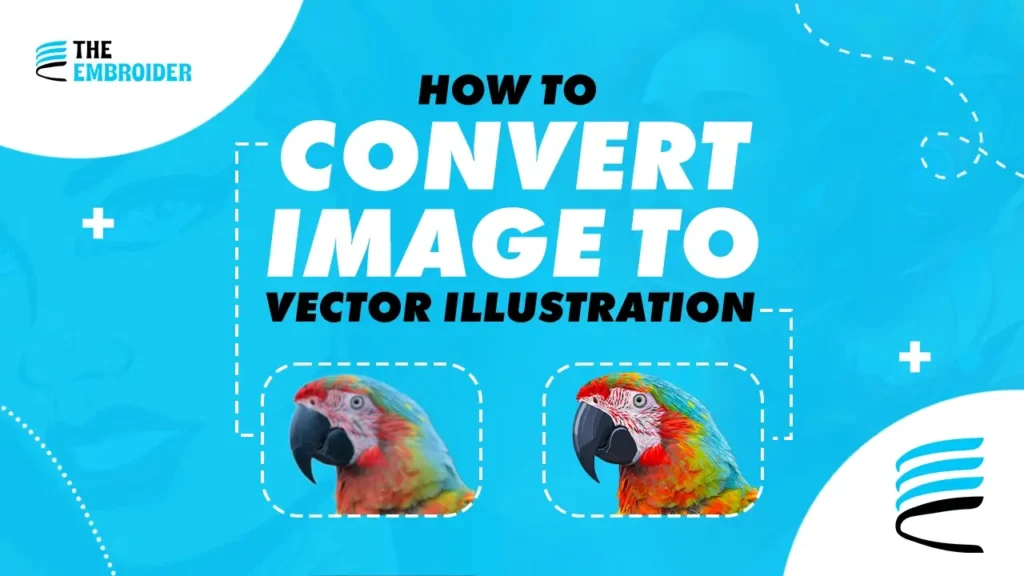
You can convert a JPG, PNG, or other raster image into vector artwork in Adobe Illustrator using the Image Trace feature. Illustrator analyzes the image and creates vector paths that you can expand, edit, and refine. For the cleanest result, the quality of the original image and the Image Trace settings both matter.
This guide explains how to convert an image to vector in Illustrator, clean up the traced artwork, and save it in a suitable vector format.
What Is Image-to-Vector Conversion?
Raster images such as JPG and PNG are made from pixels, while vector artwork is built from editable paths and shapes. When you convert a raster image to vector, Illustrator recreates the image using vector paths rather than a fixed pixel grid.
If you want a quick explanation of the difference between the two formats, see our Vector vs. Raster guide.
How to Convert an Image to Vector in Illustrator
Step 1: Place Your Image
Open Adobe Illustrator and create a new document. Go to File > Place and select the JPG, PNG, or other raster image you want to convert.
For better results, start with a clear image that has good contrast and minimal unnecessary detail. A clean source gives Image Trace more useful information to work with.
Step 2: Open Image Trace
Select the placed image and open the Image Trace panel. Illustrator provides several presets that can help you create a starting point for the tracing process.
The best preset depends on the type of artwork you are converting.
Step 3: Choose a Trace Preset
Choose a preset that matches your image. For example:
| Image Type | Starting Preset |
|---|---|
| Photograph | High Fidelity Photo |
| Simple logo | Black and White Logo |
| Limited-color artwork | 3, 6, or 16 Colors |
| Line drawing | Line Art |
| Simple silhouette | Silhouettes |
Step 4: Adjust the Trace Settings
Preview the result and adjust the available Image Trace settings until the artwork is reasonably close to what you need.
Depending on the image, you may need to control factors such as the number of colors, paths, corners, and noise. The goal is to create useful vector shapes without generating unnecessary detail.
Step 5: Expand the Tracing
Once you are satisfied with the tracing, select the result and use Object > Image Trace > Expand.
Expanding converts the tracing into editable vector paths. You can then select, move, recolor, or modify individual elements of the artwork.
Step 6: Clean Up the Vector Artwork
Image Trace can create unnecessary anchor points or imperfect shapes, particularly when the original image is detailed or low quality.
Use Illustrator’s selection and path-editing tools to:
- Remove unwanted shapes
- Correct rough edges
- Adjust anchor points
- Fix colors
- Simplify overly detailed areas
- Check curves and spacing
For more practical advice on getting a cleaner vector result, see our guide to getting the best results from vector conversion.
Save and Export Your Vector Artwork
Keep an editable master copy of the artwork in AI format if you plan to continue editing it in Illustrator.
When you need a different vector format, you can export the artwork according to the requirements of your intended use. Common vector formats include SVG, EPS, PDF, and AI.
The appropriate format depends on the software, application, or production workflow receiving the artwork.
What If Image Trace Doesn't Produce a Clean Result?
Image Trace works well for some images, particularly artwork with clear shapes and strong contrast. Complex images, photographs, low-resolution artwork, and designs with fine details may require substantial manual cleanup or reconstruction.
If the traced result contains too many paths, rough edges, unwanted details, or inaccurate shapes, manually rebuilding the artwork may produce a cleaner and more usable vector.
Conclusion
Illustrator makes image-to-vector conversion relatively straightforward with Image Trace. The basic workflow is Place the image → Image Trace → adjust the settings → Expand → clean up the paths → save or export the artwork.
For simple artwork, this process can produce a useful vector quickly. More complex designs may require manual tracing and cleanup to achieve a professional result.
If your image isn’t producing a clean vector through Image Trace, our vector art conversion services can help recreate the artwork as clean, scalable vector artwork.
FAQs
Q1: Can I convert a JPG to vector in Illustrator?
Yes. You can place a JPG in Illustrator and use Image Trace to create vector paths. The result may need cleanup depending on the image quality and complexity.
Q2: Can I convert a PNG to vector in Illustrator?
Yes. A PNG can be placed in Illustrator and converted using Image Trace. Transparent backgrounds and clear, high-contrast artwork can make the tracing process easier.
Q3: Does Image Trace create a perfect vector?
Not always. Image Trace is an automated tracing process, so complex artwork may contain unnecessary paths, rough edges, or other details that require manual editing.
Q4: What is the difference between Image Trace and manual tracing?
Image Trace automatically creates vector paths based on the raster image. Manual tracing gives you more control over the shapes, curves, and details you recreate.
Q5: What format should I save my vector artwork in?
AI is useful when you need an editable Illustrator master. SVG, EPS, and PDF can be useful for different applications and workflows, depending on the requirements of the software or production process.