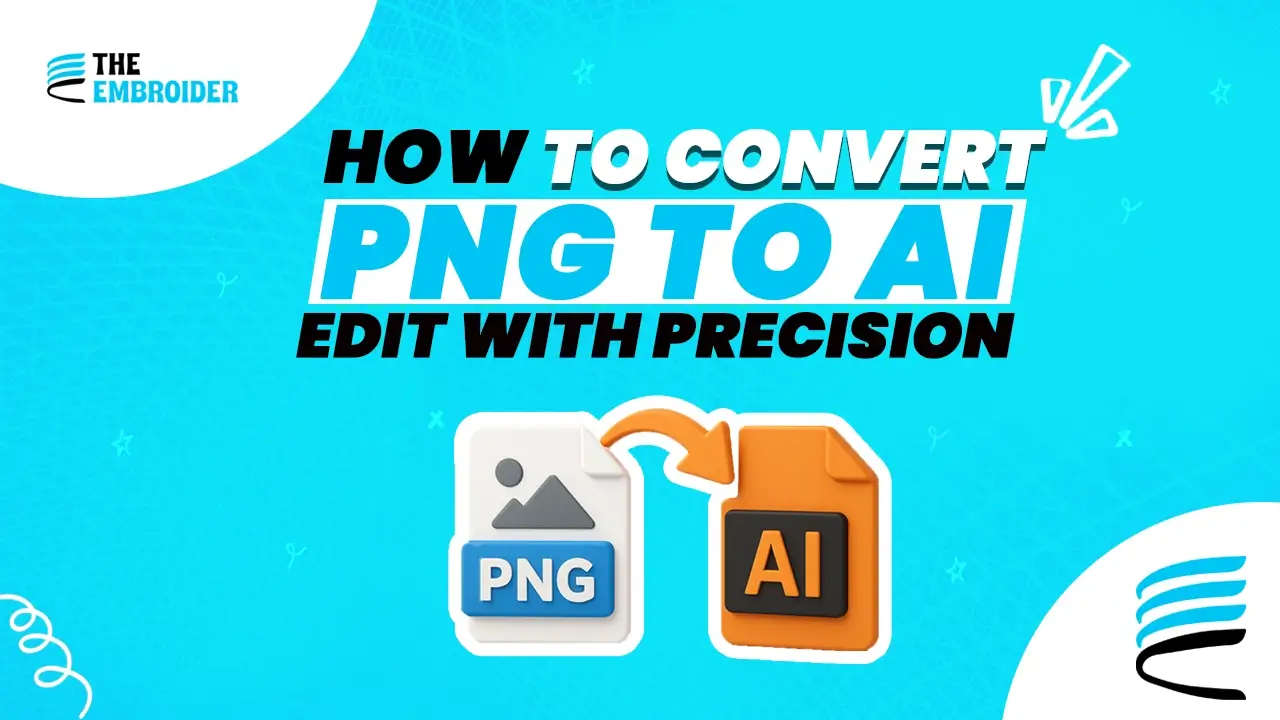
Converting a PNG into an AI file gives you the flexibility to edit and scale your artwork without losing clarity. Whether you use online tools or Illustrator, this guide shows you how, while weaving in helpful related workflows.
Rethinking PNG & Vector Files
A PNG file stores graphics in a grid of pixels, each dot holds color information. That means it looks sharp at its original size but can blur when enlarged. Converting that PNG into a vector-based AI file replaces pixels with curves and lines that can scale endlessly. This conversion gives you the editing room to reshape, color-shift, or perfect small parts all without degrading the image.
Why You Should Convert PNG to AI
- You want to reuse the design at different sizes (leaflets, banners, shirts) without fuzziness.
- You need to refine or rework design parts, something only vector paths let you do cleanly.
- In branding or embroidery, vector artwork is often required by professionals.
- In some cases, after converting to AI, designers later convert AI to PNG for web previews or mockups, bridging creative and display needs.
Also, when your PNG was originally created for stitching, many will convert it through PNG to EMB before or after making the vector version.
How to Convert PNG to AI: Methods
Online Converters (Quick Option)
- Upload your PNG to an online converter
- Select AI as the target format
- Convert and download
- Best for simple graphics or fast checks
Using Adobe Illustrator (Best Results)
- Open the PNG in Illustrator
- With it selected, go to Object → Image Trace → Make
- Adjust settings (detail, smoothing, mode) until the preview is clean
- Click “Expand” to turn the traced image into vector paths
- Save as AI via File → Save As → AI
This method gives you the greatest precision and control over paths.
Using Vector Tracing Services
When your PNG is messy or you want a polished result, using a professional vector tracing service can help. They’ll return a clean vector that you can open in Illustrator and save as AI.
Embedding Related Conversion Workflows
When your project demands tight integration:
- You might later convert to PNG to generate web previews or mockups (for example, to share with clients).
- After creating your vector artwork, some might use it to generate stitch files especially after they’ve handled PNG to EMB in earlier stages.
Final Thoughts
Converting PNG to AI transforms your design from locked pixels into an editable vector canvas. Use online converters for speed, Illustrator for control, or tracing services for complex work. Once your design is in AI form, you can scale, edit, or export it freely.
FAQs
Q1: Will converting PNG to AI always produce perfect vector results?
Not always. If the PNG has too much detail, noise, or gradients, the vector trace may produce many too-small paths or artifacts. It’s best to start with simpler, high-contrast images for cleaner SVG/AI output.
Q2: Can I convert AI back to PNG later?
Yes, once you have an AI/vector file, you can export or save it as PNG (or other raster formats) for web use, previews, or sharing. The vector version retains all editability.
Q3: Does tracing in Illustrator preserve transparency and background?
Yes, when you convert your PNG to AI and trace it, you can choose to ignore or preserve transparency. The resulting vector artwork can be placed over any background without unwanted white boxes.
Q4: Which is better for logos: PNG or AI?
For final usage, AI (vector) is superior because you can scale without loss. PNG is useful for sharing or web display. Using PNG to AI conversion lets you move from a sharable image to a scalable design.
Q5: How do I know if an image is vector or raster?
Zoom in. If edges remain crisp, it’s vector. If you see pixels or “jaggies,” it’s raster. Also, file extension helps: AI/EPS/SVG are vectors; PNG/JPG are raster. (Adobe help explains how vector files behave)