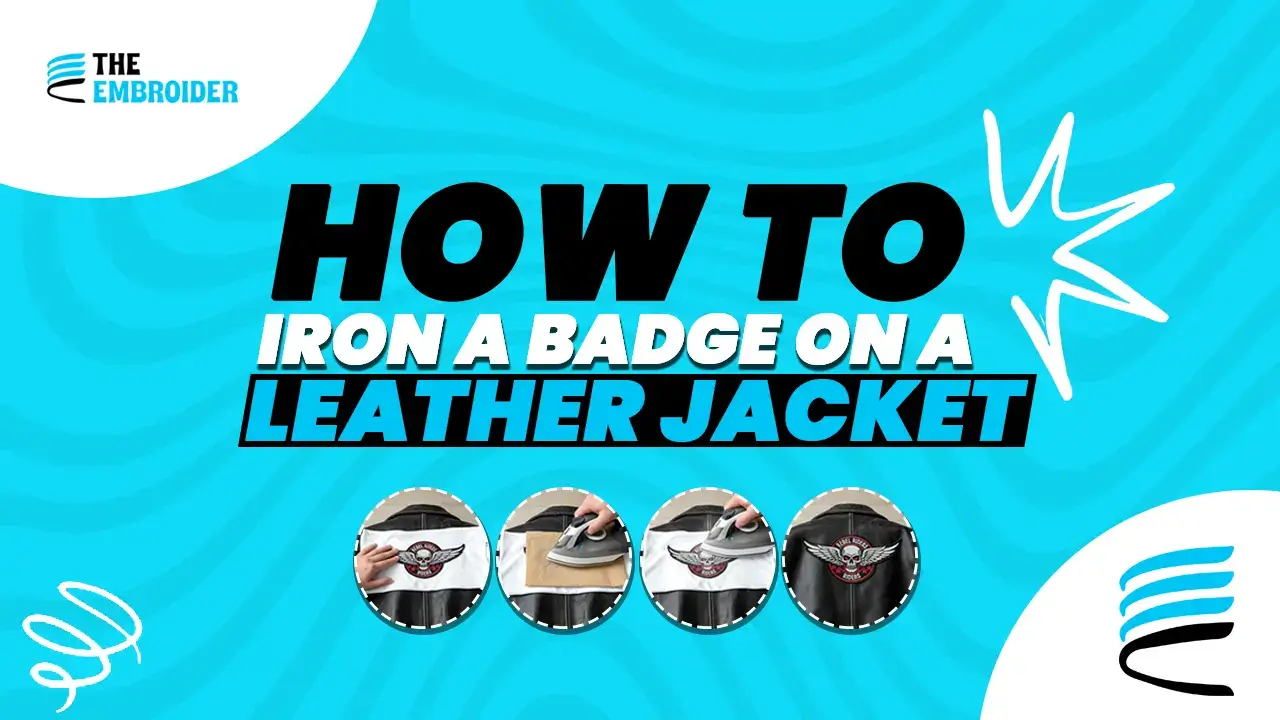
I’ll never forget the first time I tried to put a badge on my favorite leather jacket. I was proud of the patch but skipped using a cloth under the iron. Ended up with a slight scorch mark that I still can see. From that mistake, I learned how to do it properly. If you’re planning to use a badge on a leather jacket, here’s the way that works without frying your leather (or your vibe).
Why Put a Badge on a Leather Jacket?
A badge can take a plain leather jacket and make it yours personal, bold, and full of character. It’s fast to apply if you pick the right patch and use the right method. Just know that leather doesn’t like heat. Too much, and it can warp or get discolored.
According to PinProsPlus, applying iron-on patches to leather should be done at low to medium heat, usually around 260°F-300°F (127-149°C), with a protective cloth to avoid damaging the leather.
So, let’s get into what you need and how to do it step-by-step so your patch sticks well and looks great.
What You’ll Need
- A leather jacket
- Iron-on badge (preferably one stating it’s compatible with leather)
- Household iron with adjustable heat settings
- Thin cotton cloth or towel for protection
- Pins or fabric marker for marking placement
- Optional: needle & durable thread in case edges lift
How to Iron a Badge on a Leather Jacket – Step-by-Step
Here’s the process I use (with lessons from my first burn) when I attach a badge on a leather jacket.
1. Prep Your Jacket
- Check the care tag. If it says “no heat,” reconsider or use glue/sewing.
- Decide where you want your badge. Use pins or a marker to center it well (especially for big patches).
2. Protect & Set Iron
- Set your iron to low or linen setting; avoid steam.
- Lay a thin cotton cloth or towel over the spot. This layer stops direct heat from touching the leather.
If you want badges made to last, check out our Custom Embroidered Patches service. And if you liked this, our blog Restore Patches on an Old Leather Jacket has tips for patch longevity and keeping edges secure.
3. Apply the Badge
| Step | What to Do | Pro Tip |
| Press Firmly | Through the protective cloth, press the iron down on the badge for about 10-15 seconds | Don’t move/slip the iron; press, lift, and press again instead of sliding |
| Check Edges | After pressing, lift cloth and check corners | If any edge lifts, press again briefly |
| Iron Backside (Optional) | If possible, iron inside of jacket behind patch area | Helps adhesive bond without stressing front leather too much |
4. Let It Fully Cool
After pressing, don’t mess with it. Let the leather and badge cool entirely. The adhesive sets better once cool, so be patient.
Tips for Great Results
- Always use a protective layer (cloth or towel) between iron and leather.
- Use gentle but firm pressure enough so it sticks, but not risking leather damage.
- Wait 24 hours before wearing or flexing the area.
- If new to this, test on a hidden or inside piece first so any mistakes aren’t obvious.
Which Patch Types Work Best?
- Embroidered badges: Great, as long as the backing is heat-compatible.
- 3D patches or applique: Cool texture, but thickness can complicate adhesion.
- Chenille patches: Good visual interest; might need more stitching/flair than just heat-adhesive.
- Rubber/PVC patches: Durable options; often better with glue or extra stitching to ensure long life.
When Ironing Isn’t the Best Option
If any of these ring true, go with sewing or glue instead:
- Leather is very thin, fragile, or the label warns “no heat.”
- The patch is thick or has hard edges.
- You want maximum durability or expect rough use.
Leather Care After Applying Badge
- Clean the area gently with a soft cloth; avoid harsh detergents or soaking.
- Condition the leather every few months so it stays supple and patch edges don’t dry out.
- Store away from direct sun or heat sources to avoid fading or warping.
Final Thoughts
Putting a badge on a leather jacket is one of the quickest ways to express yourself. With the right tools, a bit of care, and learning from someone else’s minor missteps (like mine), it can look clean, stay durable, and really elevate your style.
FAQs
Q1: Can I iron a badge onto faux leather or synthetic leather?
Yes, but it’s more delicate. Use lower heat, protective cloth, and test in a hidden spot first to make sure it won’t warp or melt.
Q2: What exact temperature should I initially try?
Start around 260-300°F (127-149°C) if your iron allows that setting. Always stay on the gentler side and adjust if needed. (Source; PinProsPlus)
Q3: What if after 24 hours the edges still lift?
You can re-press with the cloth again, or hand-stitch around the edges for extra security.
Q4: Does weather affect how well the badge stays on?
Yes. Moisture, rain, or sweat can weaken adhesive over time, so sewing or glue helps with extra durability.

