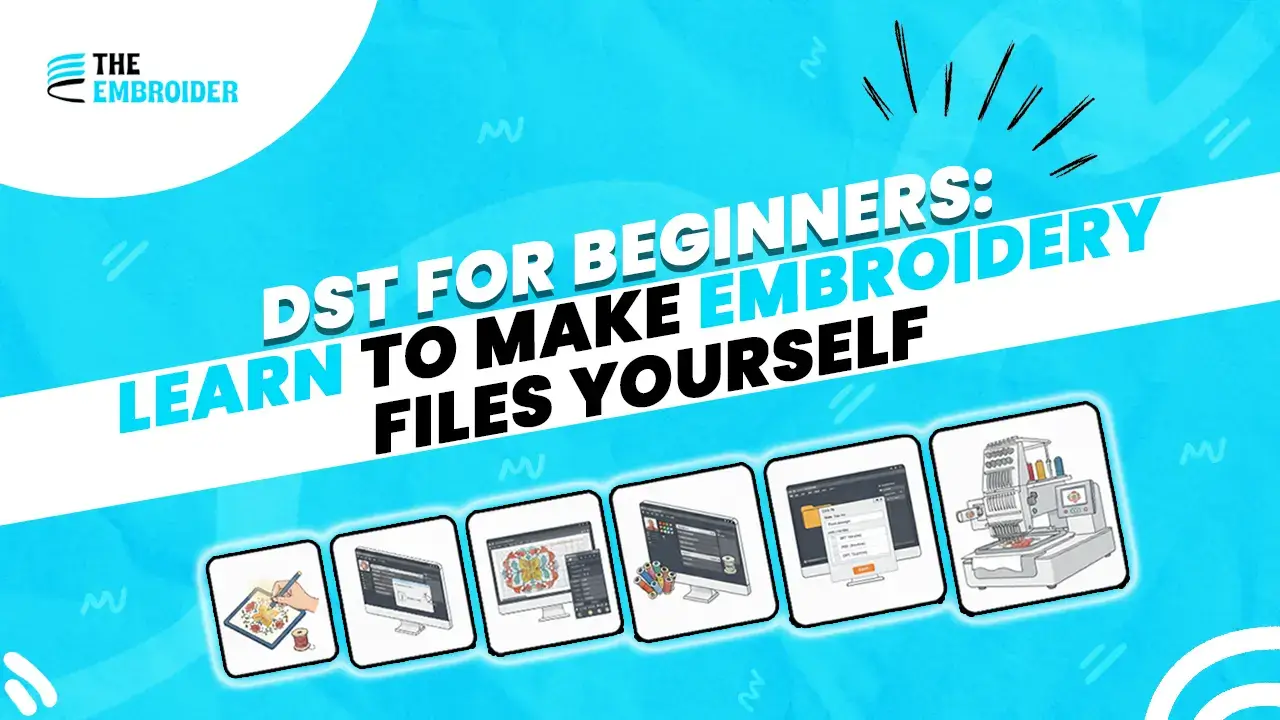
Want to turn your design into a stitch-ready file? This guide shows how to create a DST file for embroidery using simple steps, practical software, and tips to avoid common errors.
Why DST Matters for Embroidery
When your embroidery machine runs a design, it doesn’t “see” an image, it follows commands. That’s what a DST file does. DST (Tajima Stitch) holds the stitching instructions: needle paths, jumps, trims, and stitch order. Because virtually every commercial machine supports DST, it’s often the go-to format.
Pairing DST with capable software lets you tweak designs, convert formats (for instance, use a DST to PES converter when switching machine brands), and prevent issues before thread touches fabric.
Steps to Create a DST File for Embroidery
1. Start with Clean Artwork
Pick a design you want stitched. Logos, lettering, or simple shapes work best for beginners. If the source is a PNG or JPG, clean the edges, simplify colors, and consider converting JPG to DST later in the process.
2. Import into Digitizing Software
Use programs like Wilcom, Hatch, or Pulse. These tools allow you to map stitches, adjust density, and set up your design for embroidery machines.
3. Assign Stitch Types & Paths
Decide which parts use satin, fill, or running stitches. Adjust stitch density, direction, and underlay to suit your fabric. Good underlay helps prevent puckering.
4. Add Color Stops
Define thread change points so the machine knows when to switch colors. Efficient stops reduce machine pauses and thread waste.
5. Preview & Test
Most software offers simulation. Use it to catch overlapping stitches, gaps, or weird transitions before actually stitching.
6. Save as DST
Once satisfied, export your design as a DST file. If you also need backup in formats like PES or EMB, you can create those too.
Tips from Experience
- Test first: Always embroider a small sample to check how stitch density and color choices work on your fabric.
- Mind your fabric: Heavier fabrics can handle tighter stitching; lighter fabrics may need looser density.
- Organize your files: Keep master versions (like EMB or vector files) separate so you don’t lose editable art.
- Outsource when needed: If creating DST files is new or time consuming, a digitize embroidery service can help you get perfect results faster.
Which Software Helps You Best
- Wilcom: Professional grade, full control over every stitch.
- Hatch: More beginner-friendly but powerful, perfect for hobbyists or growing businesses.
- Embird: Budget-friendly, great for format conversion or quick edits.
Final Thoughts
Making your own DST files is a skill worth mastering for anyone serious about embroidery. With clean designs, reliable software, and a little practice, you’ll turn ideas into stitched reality and skip the back-and-forth with errors or misaligned threads.
FAQs
Q1. Do I need special skill to create DST files?
You don’t need to be a pro to start. Basic designs and practice help build your skill. Use previews and tests to guide improvements.
Q2. Can I convert a DST file to a different format?
Yes. Many programs let you perform DST to PES or DST to EMB conversions. Just double-check the result afterward.
Q3. Why start with vector artwork?
Vector files (AI, EPS) scale cleanly and help you get sharper stitches. If you have raster images, convert them first or clean them before digitizing.
Q4. Is using a digitize embroidery service worth it?
Yes, especially early on. It saves you time and ensures your design is taught by someone skilled in stitch paths, density, and machine behavior.
Q5. Can DST files be resized after creation?
Yes, you can resize DST files in software, but with caution. Enlarging too much may cause distortions or gaps in stitching. It’s best to adjust the design in vector or EMB format, then regenerate the DST.
Q6. Do DST files store thread color information?
No, DST files do not include actual color codes. They store stitch coordinates only. Color changes are typically handled by the embroidery machine or software when the file is loaded.

