Iron-on patches are a fantastic way to personalize your jeans and make a fashion statement. This guide will walk you through a fun and creative process for using iron-on patches on jeans to show off your unique style. It’s super easy and totally worth it!
Things You’ll Need
Below is your checklist to begin the process of iron-on patches for jeans.
- 1 – Iron-on patches: Pick designs that scream “you.” This could be anything from custom iron-on patches to funky designs you find online. The Embroider provides high-quality iron-on patches for jeans in the USA without any boring or dull designs.
- 2 – Flock vinyl: For a unique, velvety texture, flock vinyl patches are a fantastic option.
- 3 – Pair of jeans: Make sure they’re clean, smooth and free of wrinkles before starting.
- 4 – Iron: A standard one will do. Please ensure it’s completely dry, as steam may disrupt the glue.
- 5 – Ironing board or flat surface: You need a stable surface for ironing to ensure even heat distribution.
- 6 – Thin cloth, tea towel or parchment paper: To protect your patch and jeans from direct heat.
- 7 – Scissors: Handy for any trimming.
- 8 – A ruler or measuring tape: To aid in precise placement.
Method: How to Iron On Patches on Jeans
Let’s get started with the step-by-step method of iron on patches onto your jeans.
Step 1: Curate Your Iron-On Patch
First things first, choose a patch that resonates with your style or create your own using flock vinyl. Flock vinyl is an alternative to iron-on patches. It provides your patches with a smooth, velvety feel that enhances your designs. If you’re using flock vinyl, use a cutting machine such as Silhouette or Cricut to cut out your design.
Step 2: Trim the Patch
Trim the patch to the desired size and shape. Make sure to round off any sharp corners to prevent peeling. If you’re using flock vinyl, ensure the corners are smooth for a seamless finish.
Step 3: Prep Your Jeans
Lay your jeans flat on your ironing board or a stable surface. Remove any wrinkles by your hands or by gently ironing them beforehand. Clean, flat surface essential for patch adhesion.
Step 4: Position Your Patch
Decide where you want to place your patch on your jeans. Now, lay the jeans flat with the spot you want to decorate facing up. Position your patch adhesive side down (the side with the heat-activated glue).
Step 5: Heat Your Iron
Plug in your iron and set it to a medium-high temperature. Wait until it’s hot. Patience is key here. Let the iron heat up completely before proceeding to make that patch stick.
Step 6: Place a Cloth Over the Patch
To protect both the patch and your jeans from direct heat, place a thin cloth or a tea towel over the patch. This cloth will act as a barrier while still allowing the heat to pass through and activate the adhesive on the patch (This step is like putting sunscreen on. It protects your patch from getting burnt).
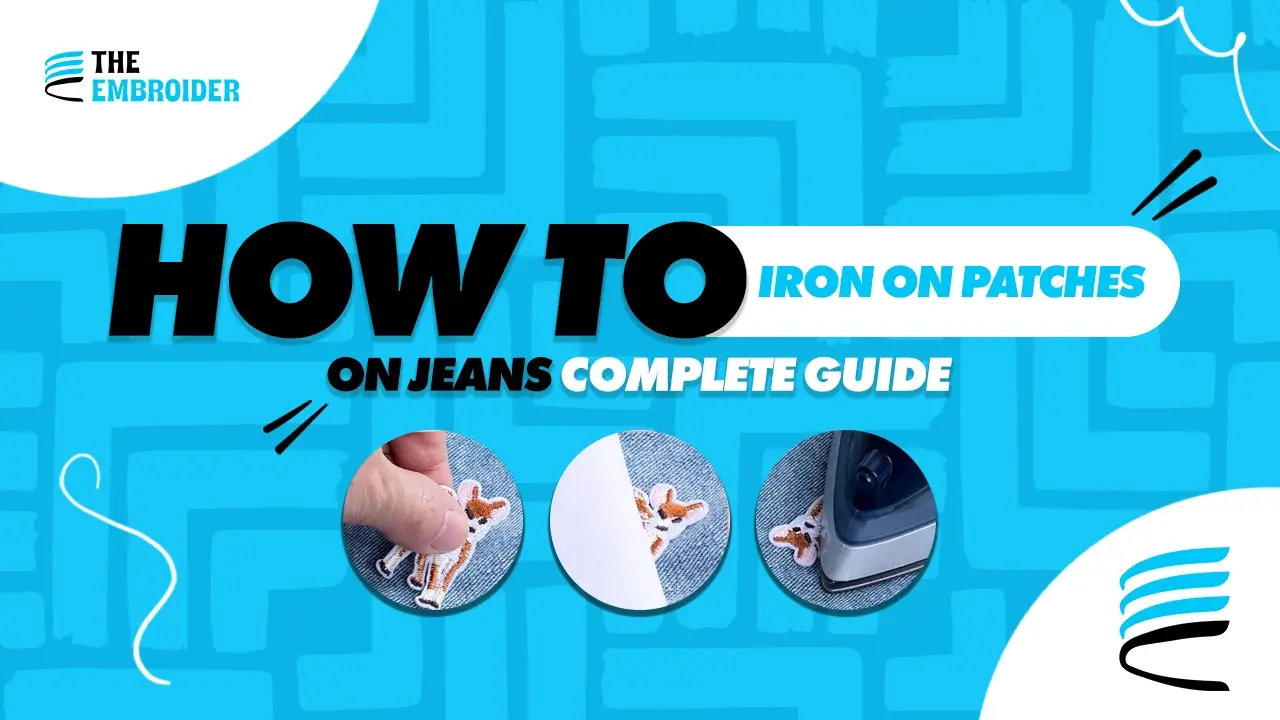
Step 7: Apply Heat and Pressure
Now, press the iron firmly onto the cloth-covered patch. Hold it there for about 15-30 seconds. Apply steady pressure and make sure to iron all edges of the patch thoroughly. The heat will activate the adhesive, bonding the patch securely to the denim.
Step 8: Check the Adhesion
Carefully lift the iron and cloth to see if the patch is sticking. If it’s still a bit loose, repeat the previous step.
Step 9: Let it Cool
After ironing, let the patched area cool completely for proper adhesive setting and a durable bond with the denim.
Step 10: Trim Excess Threads (Optional)
Once it’s cool, you can trim any loose threads or excess fabric. This is the finishing touch to make your jeans look neat and polished.
Alternative Methods for Attaching Patches
While iron-on patches are convenient for jeans, there are other methods you might consider:
Sewing Patches
Sewing patches onto jeans offers a durable and secure attachment. This method is ideal for high-wear areas or thicker patches. It also adds a personal, handcrafted touch.
Fabric Glue
Fabric glue is a quick and easy no-sew option. It’s perfect for lightweight patches or temporary applications. Just apply the glue to the patch, press it onto the jeans, and let it dry.
Heat-Activated Adhesive Sheets
These sheets combine the ease of iron-on patches with the added security of an adhesive backing. Place the sheet between the patch and the fabric, then apply heat with an iron to secure it.
Velcro Patches
Velcro patches offer versatility, allowing you to change patches as often as you like. Attach the Velcro tape to your jeans and the patch, and swap designs as your mood or style changes.
Tips and Tricks
- 1- Choose the Right Patch: Custom iron-on patches, 3D embroidery digitizing, Flock vinyl patches and applique patches all offer different vibes. Pick what suits you best.
- 2- Fabric Compatibility: Make sure your jeans are made of materials like cotton or polyester that can resist the heat. Don’t put iron on patches on delicate fabrics like silk, nylon or rayon.
- 3- Iron Settings: Set your iron to the optimal medium-high temperature for denim fabric.
- 4- No Steam: Dry heat is key. Make sure the iron’s steam function is turned off. Steam can mess up the adhesive.
- 5- Test First: If you’re nervous, practice on an old piece of fabric.
- 6- Allow Proper Cooling: Don’t rush to wear your jeans. Let the adhesive set properly.
Final Thoughts
Applying iron-on patches on jeans is an enjoyable DIY project that allows you to show your creativity. It’s a great way to transform old or plain jeans into something that truly reflects your style while also refreshing jeans that may have imperfections like holes or stains.