If you’ve ever tried loading a PNG image into an embroidery machine, you already know the frustration. Nothing happens. That’s because embroidery machines don’t understand image files. They need stitch instructions. This guide explains how to convert PNG to PES for embroidery, step by step, without overcomplicating the process.
A PNG looks great on a screen, but it’s only pixels. A PES file, on the other hand, tells the machine exactly where to stitch, when to change thread, and how to move the needle. That’s where a PNG to PES converter and proper digitizing come in. Whether you’re working on logos, patches, or custom apparel, getting this conversion right often makes the difference between clean embroidery and wasted fabric.
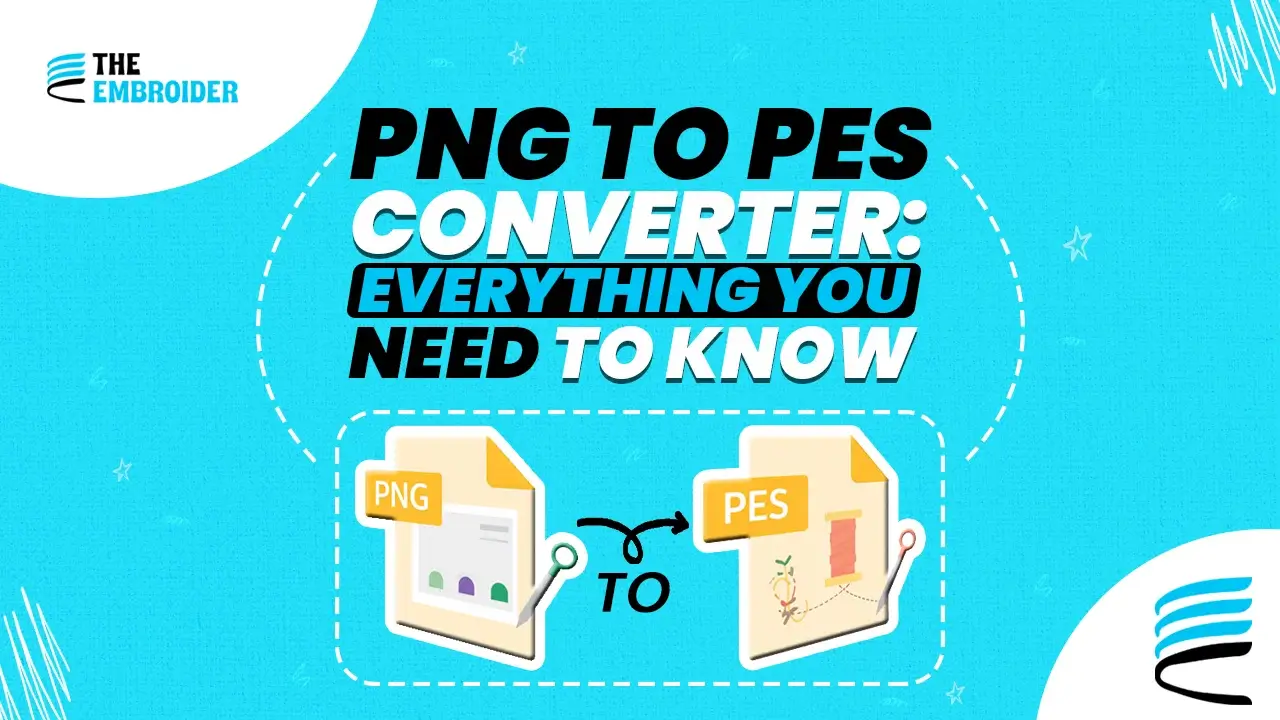
What Are PNG and PES File Formats?
-
PNG (Portable Network Graphics)
PNG is a raster image format made up of tiny colored squares called pixels. It’s popular because it supports transparency and fine visual detail. The downside is that pixels don’t translate into stitches. When a PNG is scaled or used directly for embroidery, those details can quickly turn into jagged edges or cluttered designs that don’t stitch well.
-
PES (Embroidery Stitch File)
PES isn’t an image at all. It’s a set of instructions. It tells the embroidery machine how to stitch the design, including stitch order, direction, density, and color changes. Converting PNG to PES isn’t just saving a file under a new name. It’s a process of translating artwork into something a machine can physically stitch.
For a deeper breakdown, our guide on the PES embroidery file format explains how embroidery machines interpret stitch data in detail.
Why Convert PNG to PES for Embroidery?
This conversion matters more than many beginners expect:
- Machine compatibility: Embroidery machines can’t read PNG files. They require stitch-based formats like PES.
- Cleaner stitch results: Conversion allows you to simplify artwork and control stitch behavior.
- Better design control: You can remove unnecessary detail, adjust colors, and prevent stitching issues before they happen.
Most experienced digitizers learn this after a few failed test runs. Simplifying a design before conversion saves time and avoids common problems like thread breaks or messy stitch paths.
How to Convert PNG to PES Step by Step
1. Choose the Right PNG to PES Converter or Software
There’s no single “best” tool for everyone. Some commonly used options include:
- SewArt (often easier for beginners)
- Ink/Stitch (free and open source)
- Hatch Embroidery Software
- Embird
Each tool handles tracing and stitch control a bit differently. It’s worth testing one or two to see which fits your workflow and comfort level.
2. Prepare Your PNG Image
This step is often rushed, and that’s where most problems start. Before importing your PNG:
- Use a high-resolution image
- Remove backgrounds and extra noise
- Simplify shapes and outlines
- Avoid tiny details that won’t stitch well
Clean artwork almost always leads to cleaner embroidery.
3. Import and Trace the Design
Once the PNG is in your software, trace it into paths or embroidery objects. Auto-trace tools can help, but they’re rarely perfect. A bit of manual cleanup here usually prevents stitching issues later.
4. Adjust the Design for Stitching
This is where embroidery knowledge matters more than software features. You may need to:
- Resize or reposition elements
- Choose stitch types like satin, fill, or run
- Adjust stitch density
- Refine color changes and stitch order
Providers often recommend raster to vector conversion before digitizing because clean vectors improve clarity and scalability before stitching begins.
5. Export and Save as PES
When everything looks right, export the design as a PES file. This file now contains all the instructions your embroidery machine needs to stitch the design correctly.
6. Test Stitch Before Full Production
Skipping this step is tempting. Don’t. A quick test stitch on similar fabric can reveal tension issues, alignment problems, or density mistakes before they cost you time and materials.
Tips for Better PNG to PES Conversion Results
- Keep designs simple and readable
- Limit color changes where possible
- Match thread colors carefully
- Use the correct stabilizer for your fabric
- Always test new designs
For businesses and bulk production, professional embroidery digitizing services are often used to ensure consistent results across garments.
Final Thoughts
Converting PNG to PES is really about translation. You’re taking something meant for screens and turning it into something that can be stitched thread by thread. When you slow down, clean up your artwork, and test before production, the final embroidery usually matches what you had in mind.
If the process feels overwhelming, that’s normal. Many people eventually work with professionals who specialize in logo digitizing and understand how designs behave once they’re stitched, not just how they look on a monitor. This workflow reflects common practices used by professional digitizers to reduce production errors and wasted materials.
FAQs
1. Will a PES file look exactly like the PNG image?
Not always. Embroidery has physical limits, so some details may need adjustment for clean stitching.
2. What is the best PNG to PES converter for beginners?
SewArt and Ink/Stitch are common starting points. More advanced users often prefer Hatch or Embird.
3. Does converting PNG to PES cost money?
Some tools are free, while others require paid licenses. High-quality results often come from professional software or digitizing services.
4.Is test stitching really necessary?
Yes. Testing helps catch issues early and saves time, fabric, and frustration.